Breadcrumbs

The current University portal uses a common method of navigation, the breadcrumb trail. In SharePoint 2010, the OOB breadcrumb only shows links within its own site, and does not show higher level sites. With some slight modification to the root master page this can be changed to display links right from the root site.
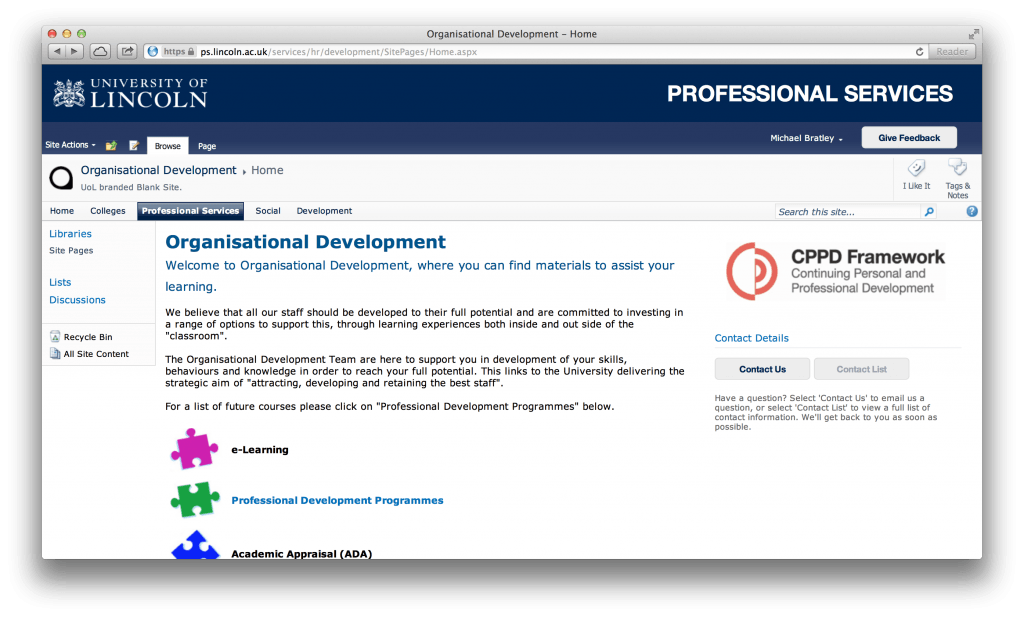
 

SharePoint 2010 Breadcrumb Trail


To start you should open Microsoft SharePoint designer, and check out the Master Page that your site is using. You should then add the code below to show a full breadcrumb trail.

If you do not want to have the trail to show all links right up to the root, you can change “-1” (default to show all), to what ever you wish.

<asp:SiteMapPath runat=”server” PathSeparatorStyle-CssClass=”breadcrumbdivider” PathSeparator=”” ParentLevelsDisplayed=”-1″ RenderCurrentNodeAsLink=”true”/>

You will need to either remove or comment out (if you like to play things safe) a line of code to avoid repetition in your breadcrumb trail.

<SharePoint:SPLinkButton runat=”server” NavigateUrl=”~site/” id=”onetidProjectPropertyTitle”><SharePoint:ProjectProperty Property=”Title” runat=”server”/></SharePoint:SPLinkButton>

You will finally need to add some custom CSS to style your breadcrumb separators. You should create a CSS class to provide space for the background image to be displayed.

.breadcrumbdivider {

backgound-image:url(”www.example.com/image.png’);

background-repeat:no-repeat;

background-position:1px 8px;

margin-left:4px;

margin-right:4px;

padding:5px;

}

You will need to host your chosen image on the server, and then specify the url in the CSS. Once you have done this, you will have something similar to this.
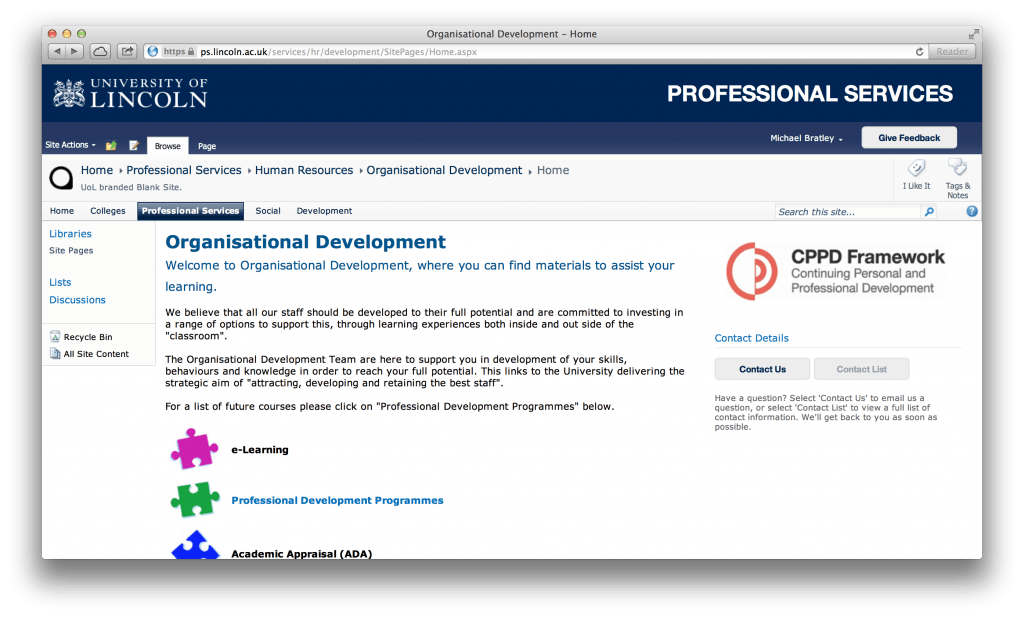
 

Modified SharePoint 2010 Breadcrumb Trail


My Sites are not for everyone

My Sites is a feature that was introduced in SharePoint 2007, this feature has also been carried in to SharePoint 2010. My Sites is SharePoint’s answer to social networking, the ‘Facebook’ for SharePoint. They proved a user with their own personal profile which can be viewed by other users on the SharePoint network. this profile can store public and private documents and information, users can friend other users and view status updates from them. It will even show what documents the user has ‘liked’ on the portal.

My Sites could be a useful feature for the university, but we might not want everyone to use it, like students as they have no need for it. So today I set out to see if we could choose who gets a My Site and who doesn’t. Turns out it’s pretty easy.

From Central Administration you go to ‘Manage service applications’ then in the ribbon bar click ‘Manage’ then ‘User Profile Service Application’, finally in the ‘People’ menu, click ‘Manage User Permissions’. A window will then pop up where you will be able to select groups and un-check the ‘Create Personal Site’ box. Once you have done this, this user will no longer be able to use My Sites.

To get to the same option in SharePoint Online, simply go to the administration area, click ‘Manage SharePoint’, ‘Manage User Profiles’ and then ‘Manage User Permissions’. Simple.

RE

SharePoint 2010 Migration Project

The next part of our project begins here. For those of you who are unfamiliar with out project, Michael and I have been researching the possibility of migrating the University’s current SharePoint 2003 Portal to SharePoint 2010. As the project progresses we will continue to update the blog to document our work and to inform you of the development of the project.

We have been in the research stage of the project for the last 9 months and are about ready to move onto the implementation stage. Over the next few weeks we will be working on the Project Initiation Document, this will detail the steps that we will be carrying out throughout the project.

If you are interested in the SharePoint project, feel free to subscribe to the project blog to find out how the project is going.